This is a project written by C# that can intercept instance method you want
You can do something before and do something after when you invoke the method
why use Tony.Interceptor
You can image you have write thousands of methods.one day ,your boss requires you to add the log for each method,you are driven mad.Would you want to write the log code in each method?
or you use the third part AOP Framework?That is very heavy
No,this is the reason you use Tony.Intercetor!!!
usage
1.define a class that implement the interface IInterceptor:
so you can handle the BeforeInvoke and AfterInvoke
2.markup the class or method that you want to Intercept
First of all,the class must extend to Interceptable,in fact,the class Interceptable extends from ContextBoundObject,just put the class into the environment context
Then,you can use InterceptorAttribute to mark the class or a instance method in the class
If you mark the class ,it intercepts all the public instance method by default.
If you do not want to intercept a method int the marked class,you can use InterceptorIgnoreAttribute
This is an implementation of triple buffering written in Rust. You may find it
useful for the following class of thread synchronization problems:
There is one producer thread and one consumer thread
The producer wants to update a shared memory value periodically
The consumer wants to access the latest update from the producer at any time
For many use cases, you can use the ergonomic write/read interface, where
the producer moves values into the buffer and the consumer accesses the
latest buffer by shared reference:
// Create a triple bufferuse triple_buffer::triple_buffer;let(mut buf_input,mut buf_output) = triple_buffer(&0);// The producer thread can move a value into the buffer at any timelet producer = std::thread::spawn(move || buf_input.write(42));// The consumer thread can read the latest value at any timelet consumer = std::thread::spawn(move || {let latest = buf_output.read();assert!(*latest == 42 || *latest == 0);});// Wait for both threads to be done
producer.join().unwrap();
consumer.join().unwrap();
In situations where moving the original value away and being unable to
modify it on the consumer’s side is too costly, such as if creating a new
value involves dynamic memory allocation, you can use a lower-level API
which allows you to access the producer and consumer’s buffers in place
and to precisely control when updates are propagated:
// Create and split a triple bufferuse triple_buffer::triple_buffer;let(mut buf_input,mut buf_output) = triple_buffer(&String::with_capacity(42));// --- PRODUCER SIDE ---// Mutate the input buffer in place{// Acquire a reference to the input bufferlet input = buf_input.input_buffer_mut();// In general, you don't know what's inside of the buffer, so you should// always reset the value before use (this is a type-specific process).
input.clear();// Perform an in-place update
input.push_str("Hello, ");}// Publish the above input buffer update
buf_input.publish();// --- CONSUMER SIDE ---// Manually fetch the buffer update from the consumer interface
buf_output.update();// Acquire a read-only reference to the output bufferlet output = buf_output.output_buffer();assert_eq!(*output,"Hello, ");// Or acquire a mutable reference if necessarylet output_mut = buf_output.output_buffer_mut();// Post-process the output value before use
output_mut.push_str("world!");
Finally, as a middle ground before the maximal ergonomics of the
write() API and the maximal control of the
input_buffer_mut()/publish()
API, you can also use the
input_buffer_publisher() RAII API on the
producer side, which ensures that publish() is automatically called when
the resulting input buffer handle goes out of scope:
// Create and split a triple bufferuse triple_buffer::triple_buffer;let(mut buf_input, _) = triple_buffer(&String::with_capacity(42));// Mutate the input buffer in place and publish it{// Acquire a reference to the input bufferletmut input = buf_input.input_buffer_publisher();// In general, you don't know what's inside of the buffer, so you should// always reset the value before use (this is a type-specific process).
input.clear();// Perform an in-place update
input.push_str("Hello world!");// Input buffer is automatically published at the end of the scope of// the "input" RAII guard}// From this point on, the consumer can see the updated version
Give me details! How does it compare to alternatives?
Compared to a mutex:
Only works in single-producer, single-consumer scenarios
Is nonblocking, and more precisely bounded wait-free. Concurrent accesses will
be slowed down by cache contention, but no deadlock, livelock, or thread
scheduling induced slowdown is possible.
Allows the producer and consumer to work simultaneously
Uses a lot more memory (3x payload + 3x bytes vs 1x payload + 1 bool)
Does not allow in-place updates, as the producer and consumer do not access
the same memory location
Should have faster reads and slower updates, especially if in-place updates
are more efficient than writing a fresh copy of the data.
When the data hasn’t been updated, the readout transaction of triple
buffering only requires a memory read, no atomic operation, and it can be
performed in parallel with any ongoing update.
When the data has been updated, the readout transaction requires an
infaillible atomic operation, which may or may not be faster than the
faillible atomic operations used by most mutex implementations.
Unless your data cannot be updated in place and must always be fully
rewritten, the ability provided by mutexes to update data in place should
make updates a lot more efficient, dwarfing any performance difference
originating from the synchronization protocol.
Compared to the read-copy-update (RCU) primitive from the Linux kernel:
Only works in single-producer, single-consumer scenarios
Has higher dirty read overhead on relaxed-memory architectures (ARM, POWER…)
Does not require accounting for reader “grace periods”: once the reader has
gotten access to the latest value, the synchronization transaction is over
Does not use the compare-and-swap hardware primitive on update, which is
inefficient by design as it forces its users to retry transactions in a loop.
Does not suffer from the ABA problem, allowing much simpler code
Allocates memory on initialization only, rather than on every update
May use more memory (3x payload + 3x bytes vs 1x pointer + amount of
payloads and refcounts that depends on the readout and update pattern)
Should be slower if updates are rare, faster if updates are frequent
The RCU’s happy reader path is slightly faster (no flag to check), but its
update procedure is a lot more involved and costly.
Compared to sending the updates on a message queue:
Only works in single-producer, single-consumer scenarios (queues can work in
other scenarios, although the implementations are much less efficient)
Consumer only has access to the latest state, not the previous ones
Consumer does not need to get through every previous state
Is nonblocking AND uses bounded amounts of memory (with queues, it’s a choice,
unless you use one of those evil queues that silently drop data when full)
Can transmit information in a single move, rather than two
Should be faster for any compatible use case.
Queues force you to move data twice, once in, once out, which will incur a
significant cost for any nontrivial data. If the inner data requires
allocation, they force you to allocate for every transaction. By design,
they force you to store and go through every update, which is not useful
when you’re only interested in the latest version of the data.
In short, triple buffering is what you’re after in scenarios where a shared
memory location is updated frequently by a single writer, read by a single
reader who only wants the latest version, and you can spare some RAM.
If you need multiple producers, look somewhere else
If you need multiple consumers, you may be interested in my related “SPMC
buffer” work, which basically extends triple buffering to multiple consumers
If you can’t tolerate the RAM overhead or want to update the data in place,
try a Mutex instead (or possibly an RWLock)
If the shared value is updated very rarely (e.g. every second), try an RCU
If the consumer must get every update, try a message queue
How do I know your unsafe lock-free code is working?
By running the tests, of course! Which is unfortunately currently harder than
I’d like it to be.
First of all, we have sequential tests, which are very thorough but obviously
do not check the lock-free/synchronization part. You run them as follows:
$ cargo test
Then we have concurrent tests where, for example, a reader thread continuously
observes the values from a rate-limited writer thread, and makes sure that he
can see every single update without any incorrect value slipping in the middle.
These tests are more important, but also harder to run because one must first
check some assumptions:
The testing host must have at least 2 physical CPU cores to test all possible
race conditions
No other code should be eating CPU in the background. Including other tests.
As the proper writing rate is system-dependent, what is configured in this
test may not be appropriate for your machine.
You must test in release mode, as compiler optimizations tend to create more
opportunities for race conditions.
Taking this and the relatively long run time (~10-20 s) into account, the
concurrent tests are ignored by default. To run them, make sure nothing is
eating CPU in the background and do:
$ cargo test --release -- --ignored --nocapture --test-threads=1
Finally, we have benchmarks, which allow you to test how well the code is
performing on your machine. We are now using criterion for said benchmarks,
which seems that to run them, you can simply do:
$ cargo install cargo-criterion
$ cargo criterion
These benchmarks exercise the worst-case scenario of u8 payloads, where
synchronization overhead dominates as the cost of reading and writing the
actual data is only 1 cycle. In real-world use cases, you will spend more time
updating buffers and less time synchronizing them.
However, due to the artificial nature of microbenchmarking, the benchmarks must
exercise two scenarios which are respectively overly optimistic and overly
pessimistic:
In uncontended mode, the buffer input and output reside on the same CPU core,
which underestimates the overhead of transferring modified cache lines from
the L1 cache of the source CPU to that of the destination CPU.
This is not as bad as it sounds, because you will pay this overhead no
matter what kind of thread synchronization primitive you use, so we’re not
hiding triple-buffer specific overhead here. All you need to do is to
ensure that when comparing against another synchronization primitive, that
primitive is benchmarked in a similar way.
In contended mode, the benchmarked half of the triple buffer is operating
under maximal load from the other half, which is much more busy than what is
actually going to be observed in real-world workloads.
In this configuration, what you’re essentially measuring is the performance
of your CPU’s cache line locking protocol and inter-CPU core data
transfers under the shared data access pattern of triple-buffer.
Therefore, consider these benchmarks’ timings as orders of magnitude of the best
and the worst that you can expect from triple-buffer, where actual performance
will be somewhere inbetween these two numbers depending on your workload.
On an Intel Core i3-3220 CPU @ 3.30GHz, typical results are as follows:
Clean read: 0.9 ns
Write: 6.9 ns
Write + dirty read: 19.6 ns
Dirty read (estimated): 12.7 ns
Contended write: 60.8 ns
Contended read: 59.2 ns
License
This crate is distributed under the terms of the MPLv2 license. See the LICENSE
file for details.
More relaxed licensing (Apache, MIT, BSD…) may also be negociated, in
exchange of a financial contribution. Contact me for details at
knights_of_ni AT gmx DOTCOM.
Licensed to the Apache Software Foundation (ASF) under one
or more contributor license agreements. See the NOTICE file
distributed with this work for additional information
regarding copyright ownership. The ASF licenses this file
to you under the Apache License, Version 2.0 (the
“License”); you may not use this file except in compliance
with the License. You may obtain a copy of the License at
Unless required by applicable law or agreed to in writing,
software distributed under the License is distributed on an
“AS IS” BASIS, WITHOUT WARRANTIES OR CONDITIONS OF ANY
KIND, either express or implied. See the License for the
specific language governing permissions and limitations
under the License.
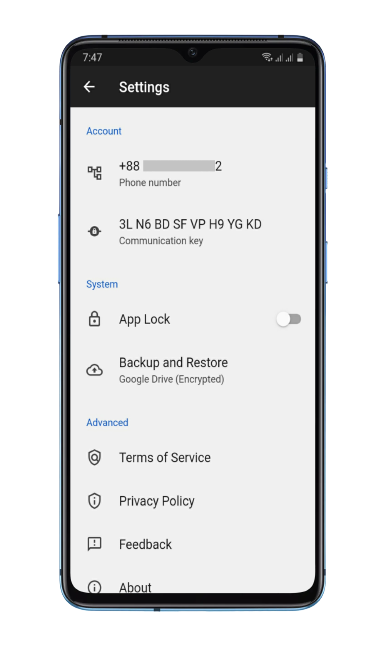
Once your Firebase project is set up, you’ll need to add your Firebase configuration files to the project. Specifically, you’ll need to add your google-services.json file for Android. You can download these files from the Firebase console.
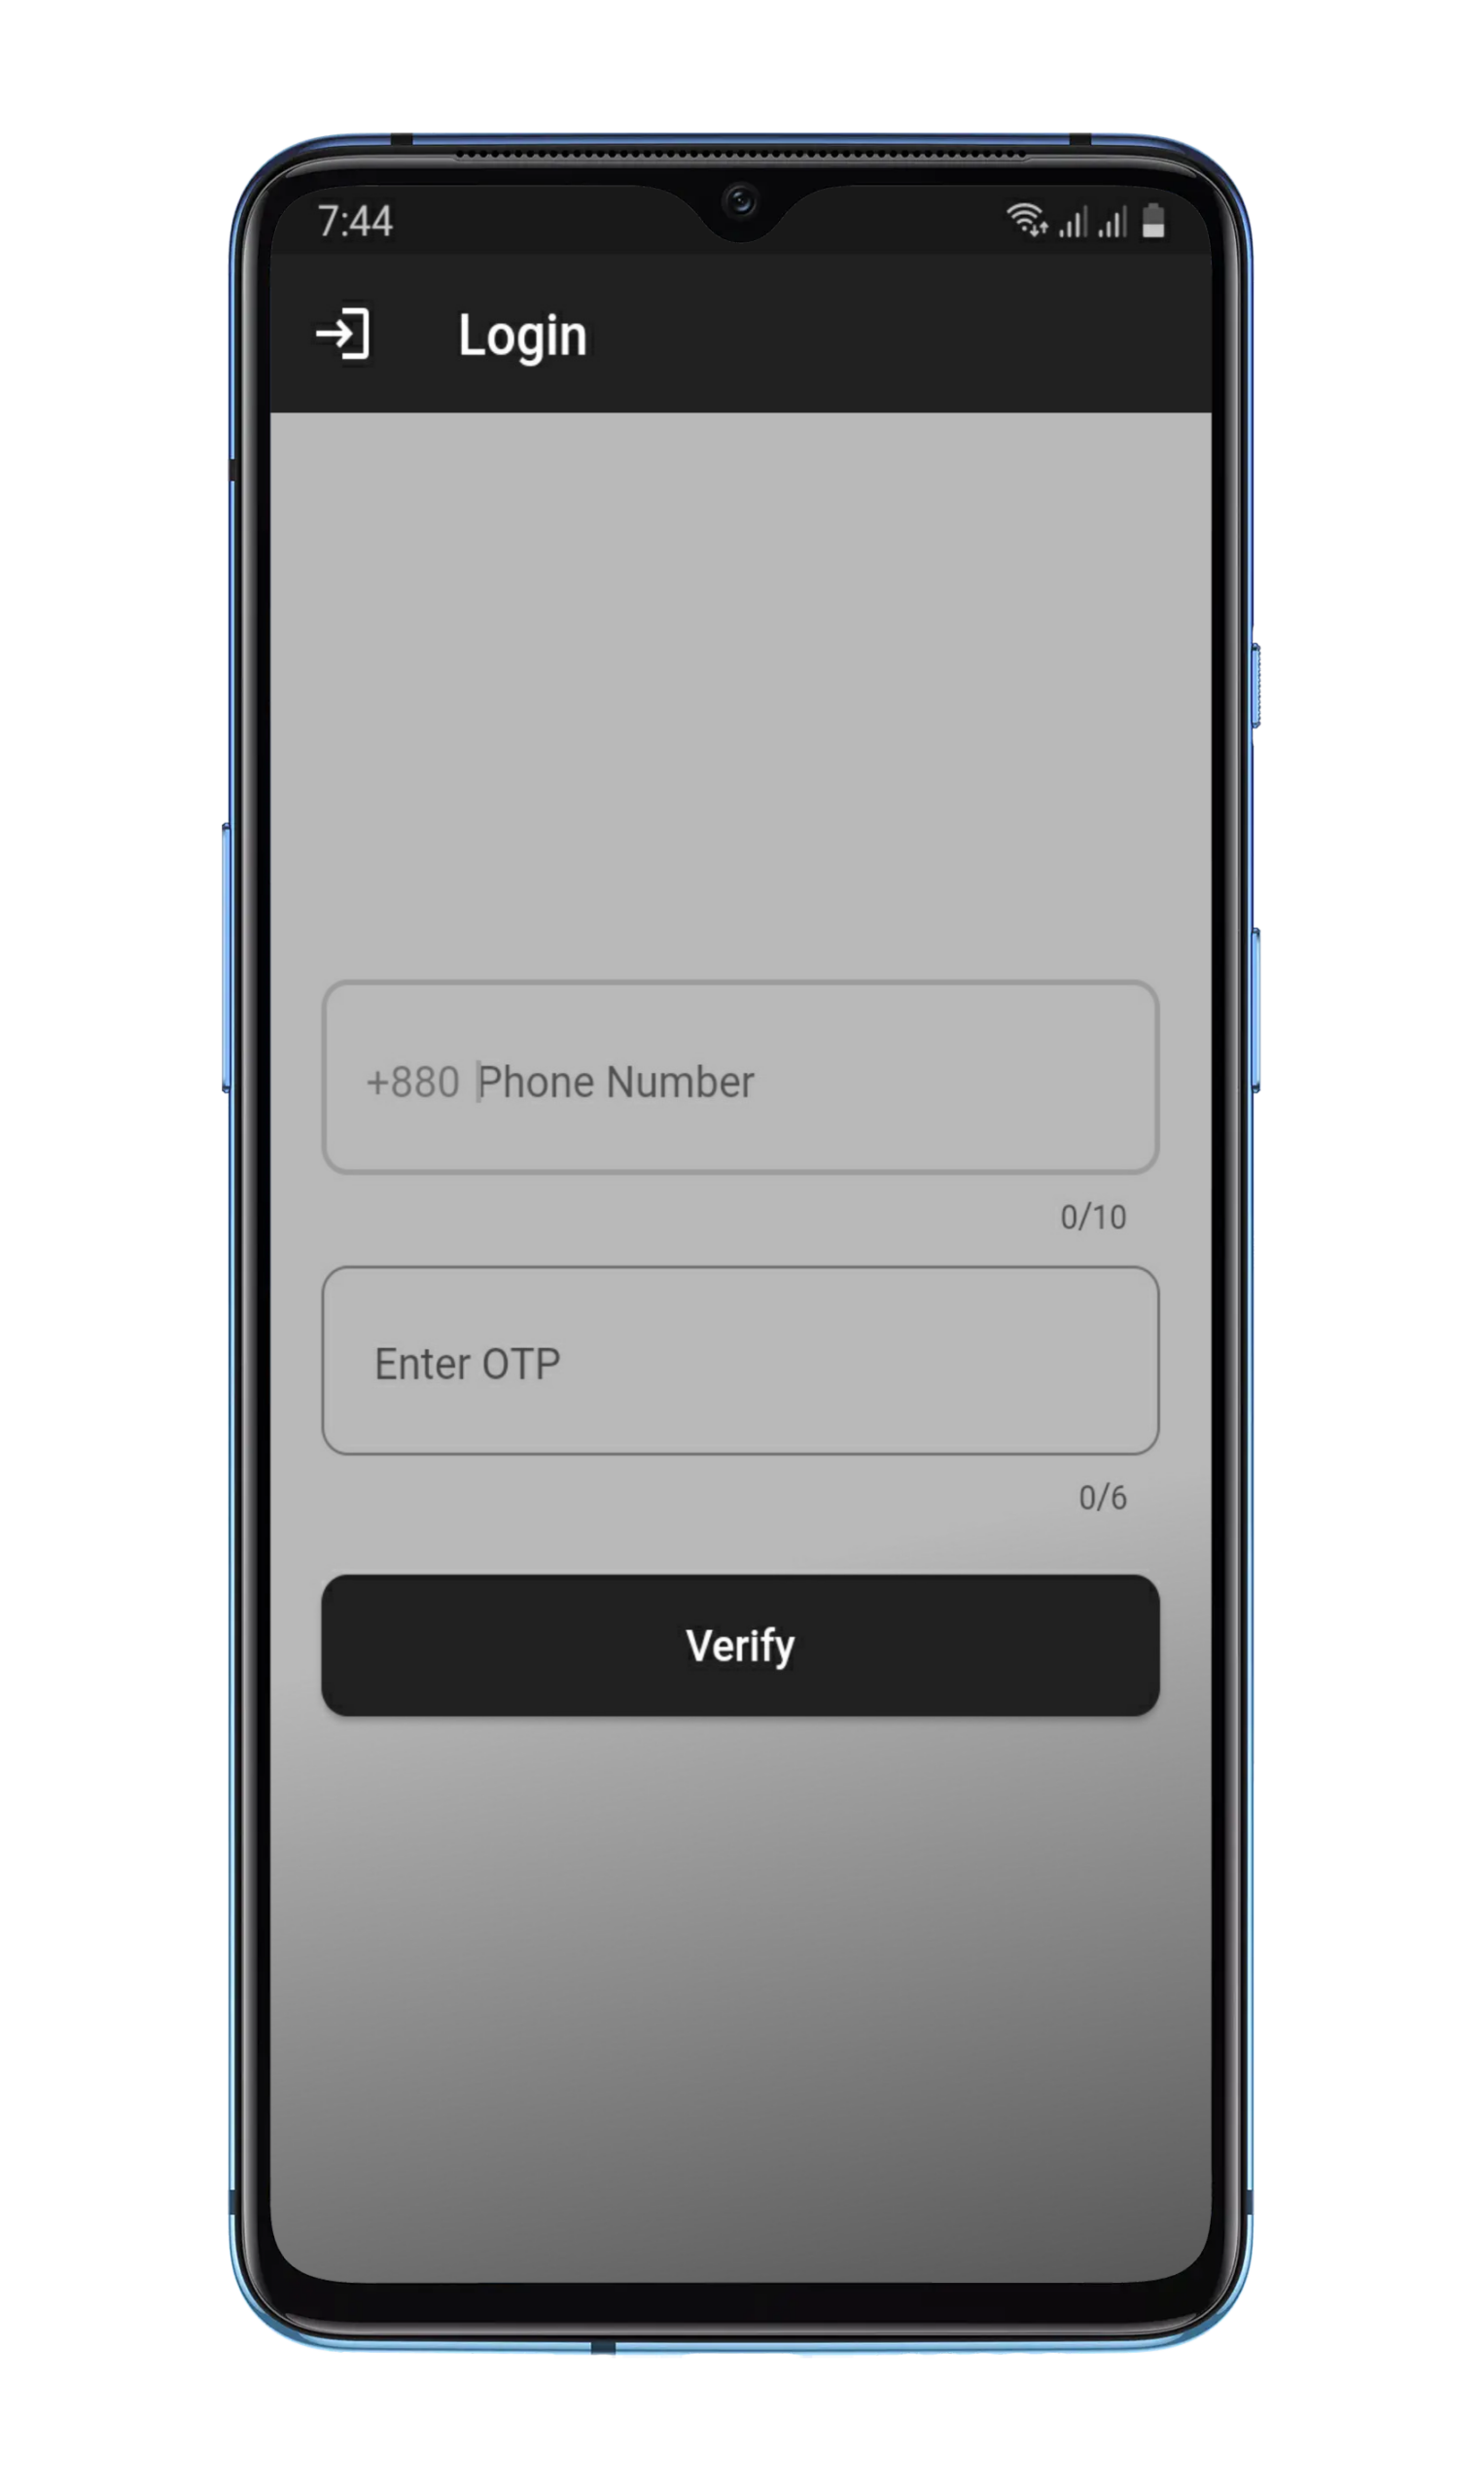
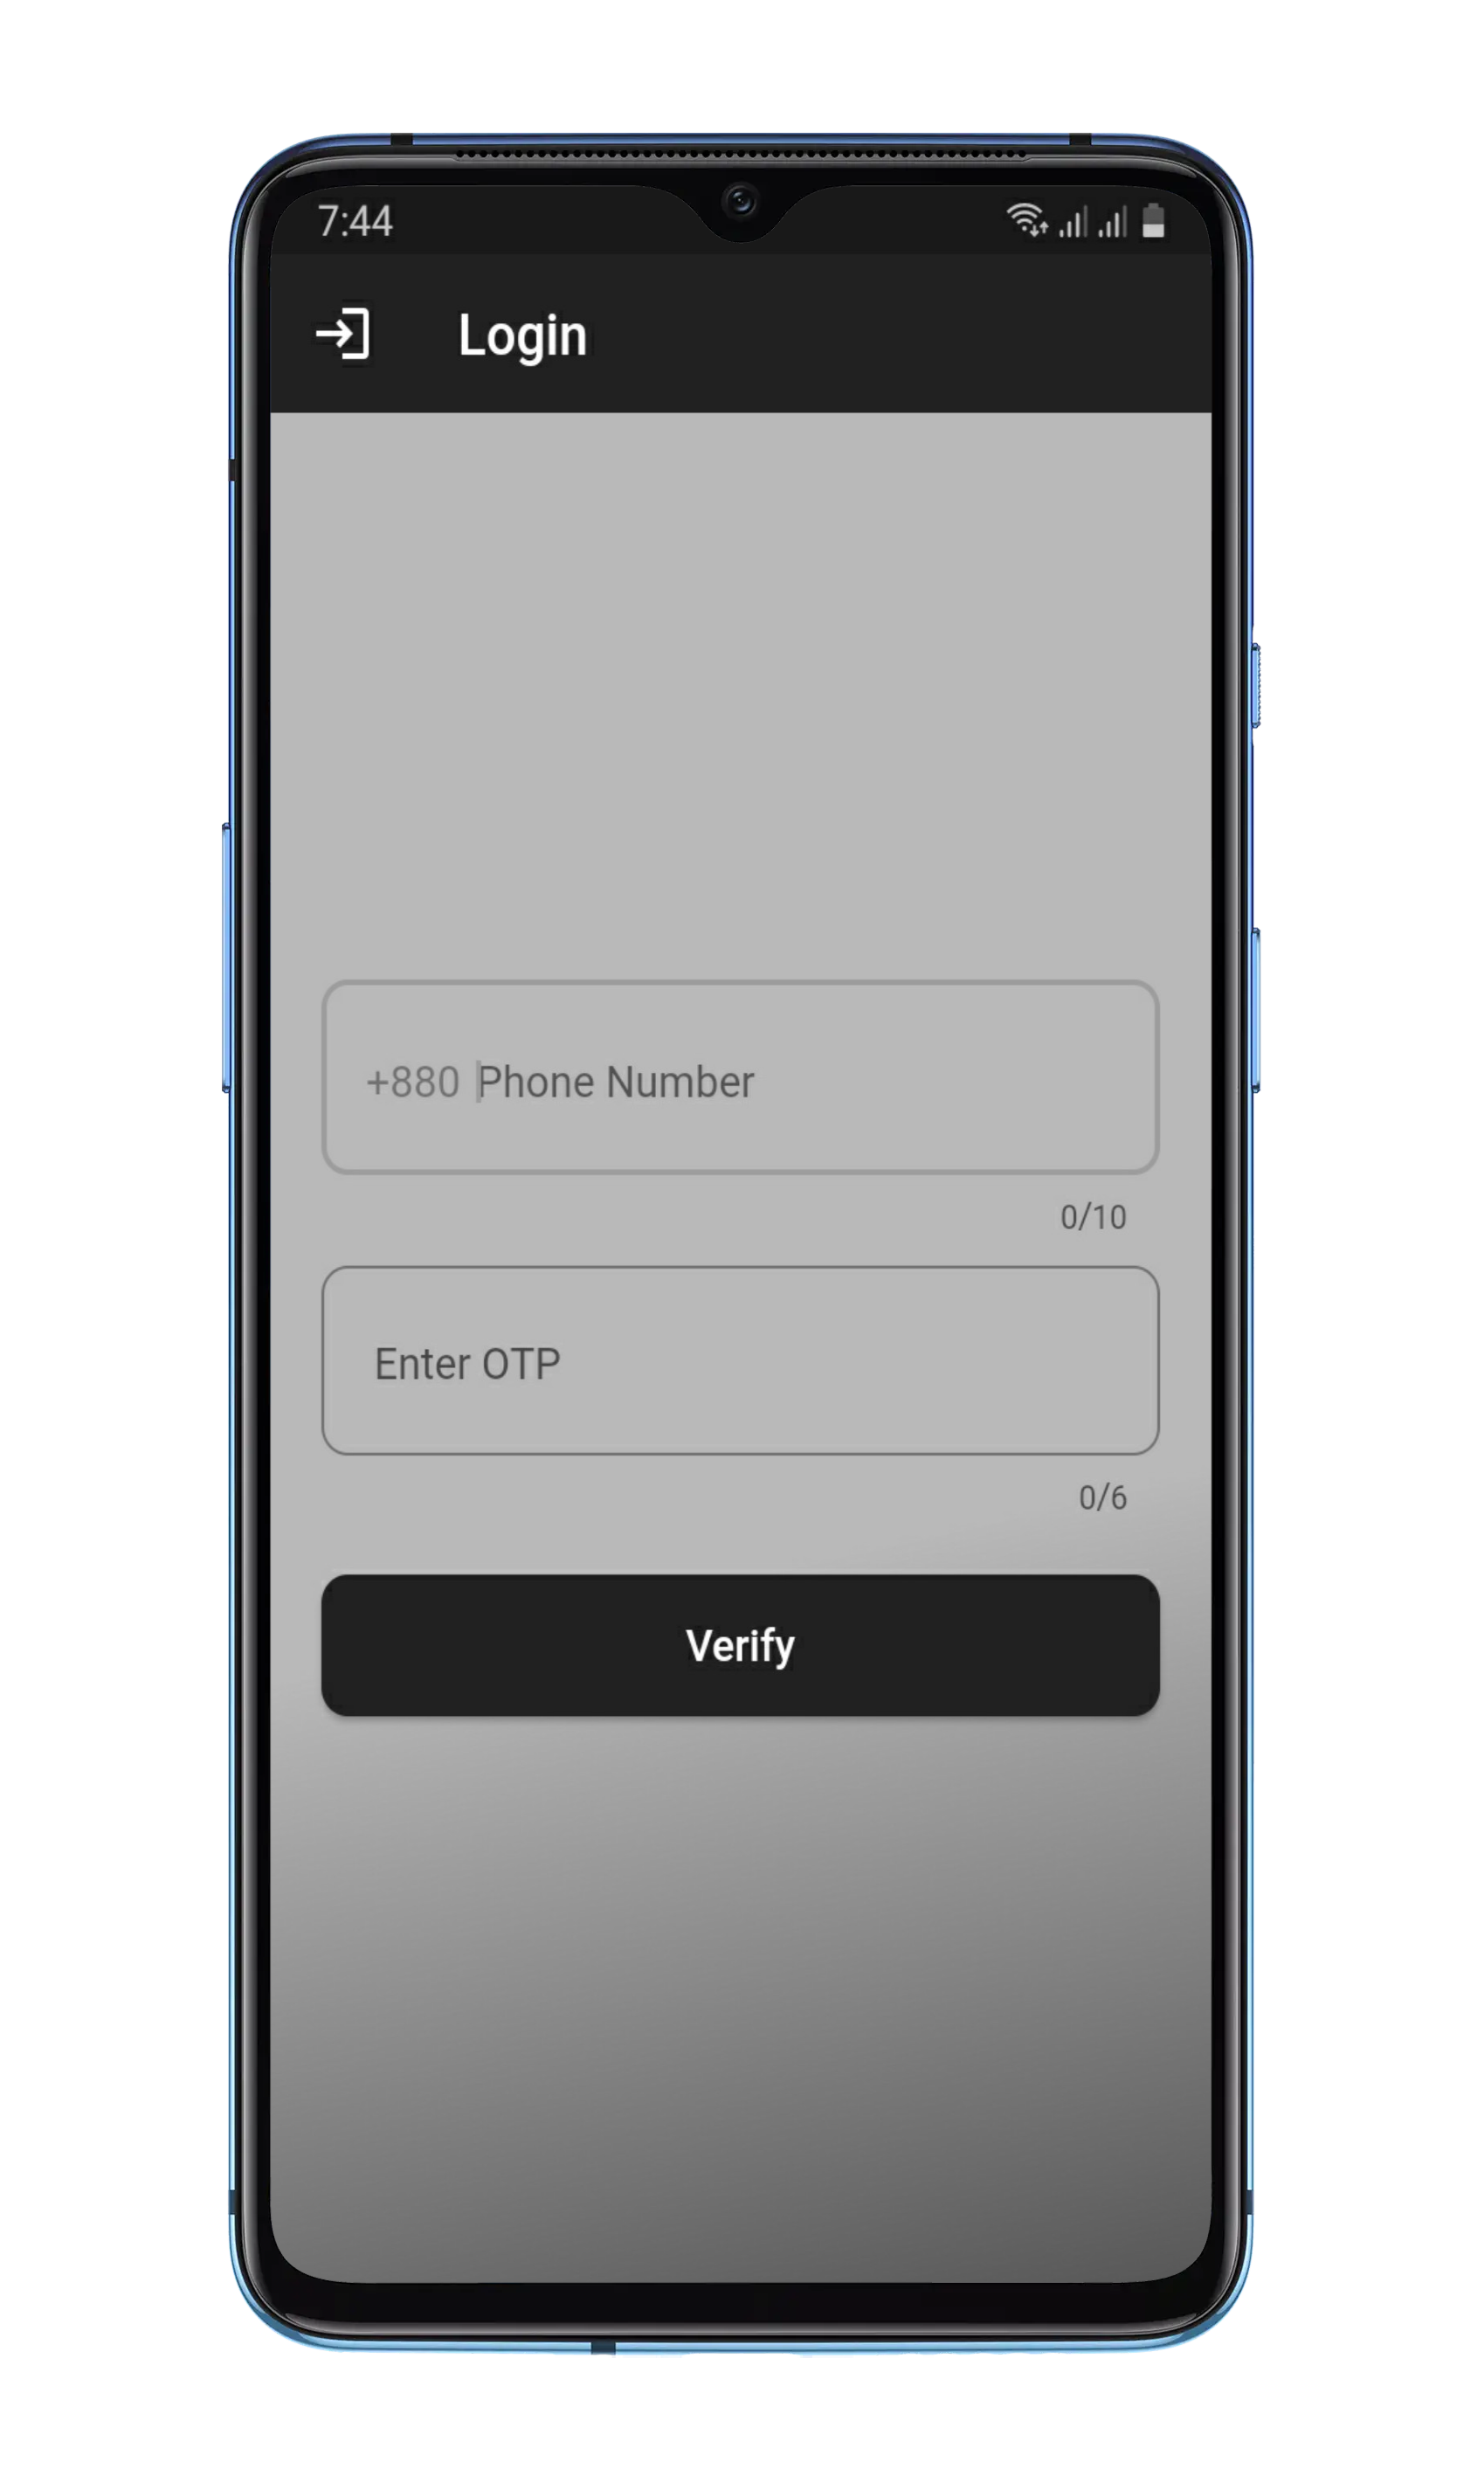
After adding the Firebase configuration files, you need to enable Firebase Authentication in your Firebase project. You can do this by going to the Authentication section in the Firebase console and following the instructions to enable authentication. Once Firebase Authentication is enabled, you’ll need to set up the Firebase Authentication providers in your Flutter app. Specifically, you’ll need to configure the phone authentication provider. You can follow the instructions in this article: https://firebase.google.com/docs/auth/flutter/start.
Connect your Android or iOS device to your computer, or launch an emulator.
Run the app by executing the following command:
flutter run
This will launch the app on your device or emulator.
If you want to build an APK file, run the following command:
flutter build apk --release
Note: Before running the app, make sure you have a suitable development environment set up for Flutter. You can refer to the official documentation for more information on setting up your development environment: https://flutter.dev/docs/get-started/install.
Requirements
Flutter SDK installed on your computer
Android Studio or VS Code with Flutter extensions installed
An emulator or physical device to run the app on
Git installed on your computer to clone the repository